Thursday, September 22, 2016

MY DIY | Double Sliding Barn Door

ispydiy_barndoor14ispydiy_barndoor2 ispydiy_barndoor13   ispydiy_barndoor1ispydiy_barndoor4
I gave you all sneak peek at my barn doors in this post, but I finally stained them and switched up my desk area a bit. If you all were following along on ISPYDIY Snapchat,  you got a peek at my amazing parents helping me out with this project. The came back from Florida at the beginning of the Summer, and with a list of projects to be done before an open house, they were rockstars and worked till midnight one evening getting these doors done (they are the best:) In my head this was a couple hour project because I wanted a simple door design, but we ran into some complications because we could not find studs to nail the railing into…so we ended up adding the wood 2×4 behind the rail for support. Good new is, the actually building of the doors was not all that hard, and if you follow the directions on the hardware kit (I got mine on Amazon Here) and talk your Dad into helping you, it should just take an afternoon to finish. Next came deciding what color to paint the doors, I found so many great options here, but ultimately wanted to stick with something close to the unfinished look, but a little more polished. I was super stoked to find Minwax® Gel Stain for vertical painting because I could leave the doors hanging while staining, can’t get much easier than that! And the whole project came in at under $250 which was a bargain for double doors!  Steps and supplies after the break.
ispydiy_barndoor_steps
What you need:
12 ft Double Sliding Door Hardware
Six 1 in. x 12 in. x 7 ft. Common Board
Two 1 in. x 8 in. x 6 ft. Common Board
Minwax® Gel Stain – Honey Maple
Wood nails
Drill
Clamps
What to do:
After I gathered all my wood, I had the guys at the hardware store cut it down to size. The height for my opening needed 7ft boards, make sure to adjust for your opening. Once the six vertical boards were cut to 7ft, I placed three next to each other, and measured the width, this is the measurement for the horizontal peice (12in boards are really closer to 11 and 1/4). Have them cut 4 horizaltal pieces.
Next lay out your 3 vertical pieces, with one horizontal at the top and at the bottom.
Then clamp the corners to stay in place. To confirm your doors are square, measure the diagonals to make sure they are the same.
Next, I measured/eyeballed where I wanted the screws. I have six in each board mostly for looks, Four in the corners of each vertical board should hold just fine. Drilling pilot holes for the screws speeds up the process, and keeps the wood from splitting.
Then follow the instructions on the kit for the rail and slider hardware. It took a little bit of measuring, and trial and error to get them to hang (*almost) perfectly…definitely a two person job!
To stain:
Prep the surface by sanding with a fine grain sandpaper, then wipe clean.
Stir the Minwax® Gel Stain until creamy, and then apply evenly with a brush or clean cloth, wiping in the direction of the grain.
Allow to dry 8-10 hours between coats, and do not sand.
You can finish Minwax® Fast-Drying Polyurethane. Once dry, slide close and done!
ispydiy_barndoor7ispydiy_barndoor6
source
ispydiy_barndoor10

Wednesday, May 18, 2016

DIY Modern Outdoor Kitchen and Bar

A HUGE DIY outdoor kitchen with a grill, sink, storage, and seating! Very nice project and nicely done, really clever idea!
Check for outdoor kitchen items Best Sellers on Amazon
http://www.amazon.com/gp/search?ie=UTF8&camp=1789&creative=9325&index=garden&keywords=outdoor%20kitchen&linkCode=ur2&tag=hoont-20&linkId=6LG47AGLSXMBO6PY

Friday, December 18, 2015

Kitchen Window Treatments Ideas

Window treatments don't need to be expensive to look nice. There are many different kinds of kitchen window treatment ideas that can involve a fusion of existing treatments, custom designs, or the creation of unique window decorations through your own DIY project.


The shape and style of window, along with a budget, will help you determine the scope of the project. Following are vital tips to keep in mind when considering window treatment ideas.
Sunlight Exposure: The sun's damaging UVA and UVB rays are notorious. Direct, harsh sunlight can fade most materials; in addition, it can raise interior temperatures, dull finishes, dry wood, and wash out fabrics. To protect your entire kitchen from too much sun, look for window coverings that have a protective quality.

Many performance shades, such as cellular and solar, advertise how much of the damaging rays they screen while still allowing some diffused light to come through. For complete control, choose opaque window coverings or treatments lined with a light-prohibiting layer, also known as blackout shades. When closed, the slats of shutters and blinds (wood, vinyl, or metal) block the sun. For added material protection, consider applying an adhesive or static-cling UV film directly to older windowpanes.

 
Privacy: Have you thought to perform a quick check before starting your project? Turn on the lights in the kitchen one evening and venture outside and see what others can view through your windows. For privacy, look for screening materials that let you see out but allow some daylight to pass while blocking views from the outside; consider Roman shades and roller shades made from translucent or woven materials, or try sheer fabric curtain panels.
Decoration: Shared spaces outside the kitchen work triangle—such as breakfast nooks or when framing a large bay window or French doors—are ideal for floor-length curtain panels that offer opportunity of color and pattern. A swag of patterned fabric draped over a single window can also make a statement. Valances and cornices are like accent marks over windows you want to showcase. For the most personalized effect, choose materials, textures, hues and designs that express your lifestyle.


source

Monday, December 7, 2015

How to make your countertop look like granite

How to transform your countertop with little expense. Go from a plain look to a granite-looking countertop. This is a inexpensive way to transform your countertops in a weekend.How to transform your countertop with little expense. Go from a plain look to a granite-looking countertop. This is a inexpensive way to transform your countertops in a weekend.


Dugan Paints

Cheap Kitchen Makeover for Under $500

The Paint Diva does a "Surprise by Design" and sneaks into a homeowner's kitchen while they're on vacation, doing a renovation for under $500. She paints the cabinets with Benjamin Moore's "Advance" paint, does a faux finish on the walls, and paints the formica countertop to look like granite. Find her on facebook as The Paint Diva of NJ.

Monday, October 12, 2015

Farmhouse Kitchen - Design Tips & More

We built this house for the farmers at Springdale Farms near downtown Austin, TX and I'm back to visit 5 years later. http://www.springdalefarmaustin.com/ For more tips and advice like this see my blog at http://mattrisinger.com/ Matt Risinger

Sunday, October 11, 2015

Top Kitchen Trends: Lighting & Cabinetry

The National Association of the Remodeling Industry has confirmed once again that of the top remodeling projects in 2014 the kitchen remains at the top. Among the top kitchen trends, lighting and cabinetry will be our focus today.
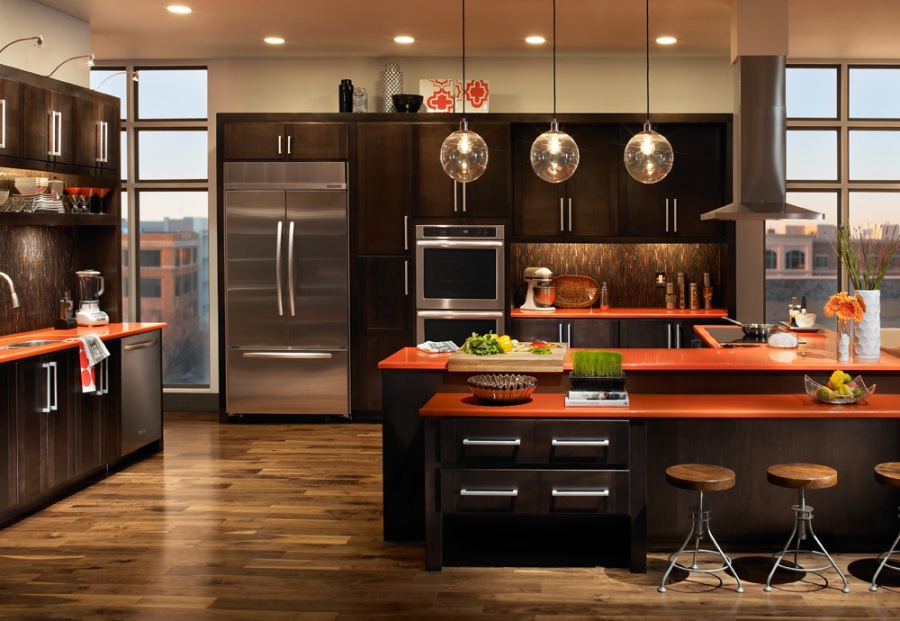
Transitional Kitchen with Contrasting Finishes by Trail Appliances
Transitional Kitchen with Contrasting Finishes & Pendant Lighting by Trail Appliances
According to Kevin Anundson, President of the NARI, “consumers want practical, comfortable kitchens that are efficient to use and easy to live in.” He goes on to say that “bigger isn’t better, although homeowners still want a feeling of space, and open concept with islands are still a significant part of kitchen trends in 2014.”
Lighting: 
The impact on kitchen lighting trends can be seen in the following applications:
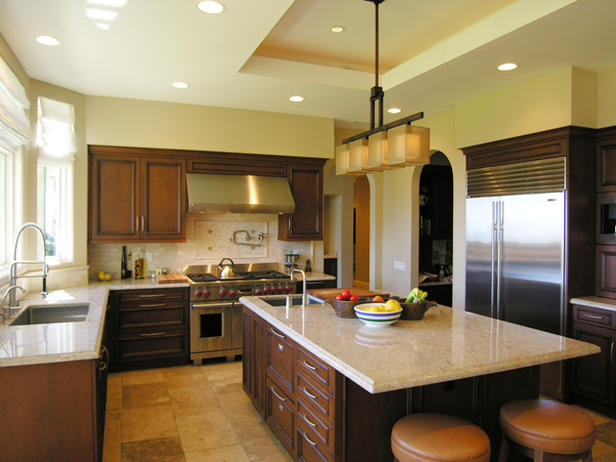
Transitional Kitchen by Hammer Schmidt
Fewer Upper Cabinets create more space for decorative lighting including track and task lighting with adjustable arms, providing the option to direct light where it is needed the most.
Pendant lights, a popular choice for kitchen islands provide an opportunity to bring personal style into the space.